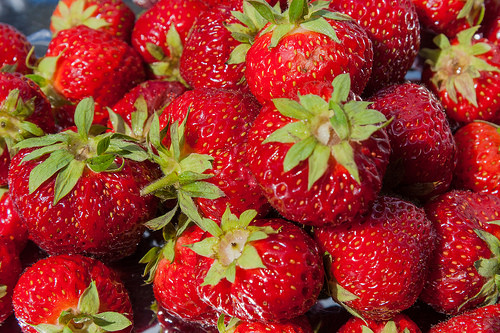
 The summer months are a great time to enjoy the freshly harvested fruit. You can stock up on delicious strawberry jam for the rest of the summer and not have to worry about buying the high-fructose corn syrup, factory-made, store-bought option. Once you see how easy it is to make your own delicious jam, all the store-bought options won’t seem as appealing!
Imagine starting your day with a breakfast crafted by you and your kids. You put the bread in the toaster. The bread is warm and toasted. As the jam melts over the bread the sweet rich scents enchant your senses. You and your kids are now ready to go for the day knowing your stomachs are full and hearts are happy.
Most jam recipes call for pectin, an added preservative that increases the shelf-life of the jam. However, this recipe does not require pectin. The jam yield in this recipe should last you about one to two months, if you have not eaten it all by then!
Prep Time: 10 minutes. Cook: 30 minutes
Ingredients:
2 Cups of Halved Strawberries
1 Tablespoon of Lemon Juice
1 Cup of Granulated Domino Sugar
1 Teaspoon of Cinnamon
1 Canning Mason Jar
Directions:
Place a plate in the freezer before cooking. The plate will be used later on to check for consistency.
In addition to the plate, while the mixture is cooking, heat up the canning jar either by running under hot water or submerging in heated water.
In a wide bowl, stem and halve strawberries. Lightly mash strawberries for desired thickness. The more mashed the strawberries are the more uniform the jam will turn out.
Pour the strawberries, lemon juice, sugar, and cinnamon in a medium-sized saucepan on low heat. Stir well to ensure all the ingredients have been mixed together. Do a quick taste test; add more lemon juice, cinnamon, or sugar to liking. (Be wary, the jam grows stronger in taste as it sets!)
Once the sugar has dissolved and the jam starts bubbling, turn the heat up to medium-high. Stir continuously and maintain a rolling boil. After 20 minutes, check if the jam is ready by placing a spoonful of the mixture on the cold plate. Let it sit for 30 seconds to 1 minute. Run a finger through the mixture while tilting the plate, if the mixture resists running back onto itself your jam is ready to be canned!
Immediately pour the mixture into a heated jar and tightly seal the top. If you desire, place the closed container upside down on a cloth and cover. Otherwise flip the container upside down. Let it set for 24 hours.
Your jam is ready to eat!
-Samantha Garcia
Photo Credit: Michel_Rathwell Strawberries via photopin (license)


